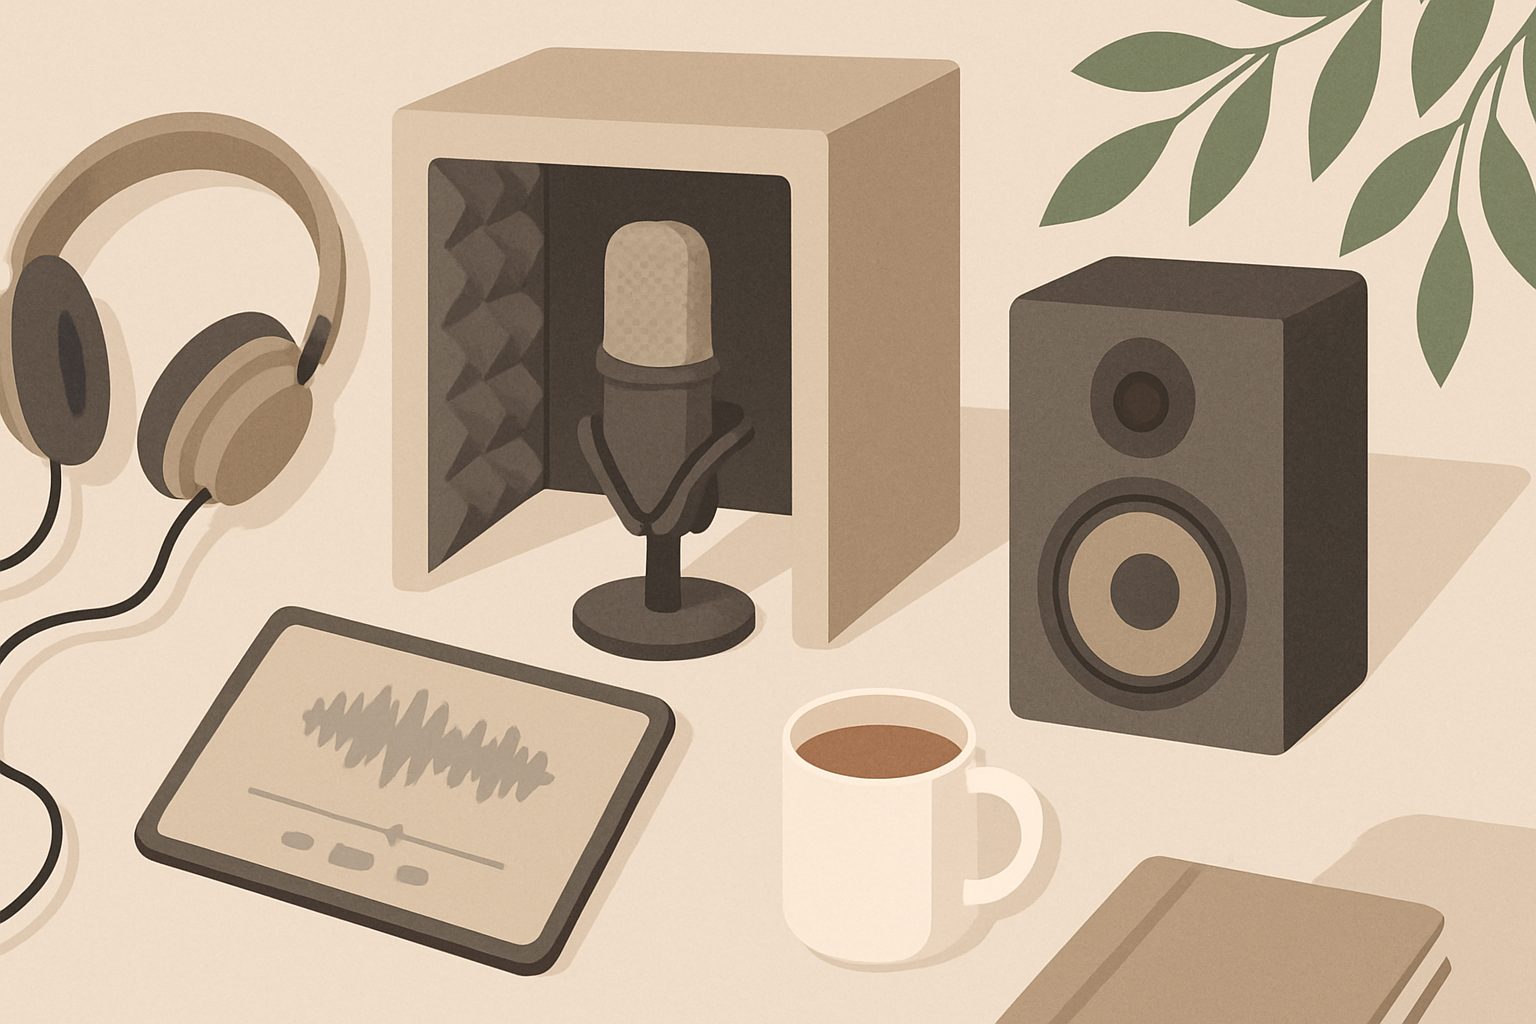
Home Sound Booth Assembly & Setup Guide: What to Buy First
Building a home sound booth can feel overwhelming if you're unboxing equipment for the first time, but the process is straightforward once you understand the order of operations. Whether you're setting up for podcasting, voice-over work, or music recording, getting the assembly right from the start saves frustration and prevents costly mistakes later.
What Typically Comes in the Box
Most compact home sound booths arrive partially assembled. You'll usually find the main frame components, a mounting bracket, acoustic foam panels (sometimes pre-attached), and basic cable routing hardware. Read the manual first—it's tedious, but manufacturers include diagrams showing panel orientation and which panels absorb different frequencies. The foam's facing (often one side is denser or coloured) matters for acoustic performance.
Check all components are present before starting assembly. Missing a single piece means delays, especially if ordering replacements. Use a well-lit, clean workspace; small hardware gets lost easily, and dust compromises foam quality.
Assembly Order Matters
Start with the frame. Most units feature aluminium or steel tubing that slots together—don't force anything. If a joint won't align, you've probably got a piece in the wrong orientation rather than a defect. Assemble the frame flat on the ground first rather than standing it upright immediately.
Next, attach the mounting bracket or suspension system. This is where setup diverges based on your specific model, but the principle is identical: secure the bracket firmly before hanging anything on it. Loose brackets cause vibration and rattle during recording, which destroys audio quality.
Install acoustic panels according to the manufacturer's diagram. Panels are directional; the side marked for installation faces outward. Most home booths use a combination of absorption foam and bass traps. Don't skip the corners and edges—these spots cause the most acoustic problems. If panels seem loose, they need adhesive; contact the manufacturer for recommendations rather than guessing.
Essential Accessories to Prioritise
Before you record, you'll need proper cabling and stands. Cheap cables introduce noise and can fail unexpectedly; invest in shielded XLR cables rated for your microphone type. Get a microphone boom arm or stand next—holding a microphone by hand causes handling noise and inconsistent positioning. A shock mount isolates the microphone from vibrations, which is particularly important if your booth shares floor space with pedestrian traffic or other equipment.
An isolation shield or pop filter prevents plosives (harsh "P" and "B" sounds) without requiring additional space. Many podcasters and voice actors use this before treating an entire booth, as it's affordable and genuinely effective.
Cable management systems—clips, ties, or conduit—prevent tangled mess and reduce rustling noise during recording. Route cables away from microphone lines if possible; parallel runs of audio and power cables sometimes induce hum, especially with longer cable runs.
Cabling and Connections
Connect your microphone to the boom arm's XLR connector, then run that XLR to your audio interface or mixer. Use quality cables; loose connections introduce crackling and intermittent cutting out. If you're using a USB microphone, check the booth doesn't contain metal elements that interfere with signal strength—rare, but possible in compact spaces.
Ground everything properly. If your interface has a ground-lift switch, experiment with it on and off; one setting eliminates hum, the other introduces it. This depends on your specific equipment, so don't assume one setting is universal.
Acoustic Treatment Beyond the Booth
Sound booth panels absorb high and mid frequencies well but handle bass poorly. If you have deeper voices or musical instruments, consider bass traps—thicker absorption panels or purpose-built bass absorbers for corners. These are separate purchases, not included in most basic packages.
The space around your booth matters too. Hard walls reflect sound back into your microphone. Soft furnishings—curtains, bookshelves, carpets—help. Avoid placing your booth directly against a hard wall if possible; leave at least 30 centimetres of air space for sound to escape and dissipate.
Position and Test
Place your booth where you won't be disturbed and where vibrations from external sources are minimal. Basements often seem ideal for sound isolation, but they're prone to moisture and mold—not ideal for equipment. Ground floors near washing machines or with traffic directly above are problematic. Upper floors in quiet rooms work surprisingly well.
Before recording important work, test your setup. Record yourself speaking at normal volume, then listen critically. You're listening for background hum, handling noise, and whether acoustic treatment is actually reducing ambient sound. Adjust panel positions if needed—even small changes shift frequency response noticeably.
Common Setup Mistakes
Don't assume the booth is soundproof; it reduces noise transmission but doesn't eliminate it. Don't cover cables haphazardly; tangled wires cause intermittent noise. Don't over-tighten connections; you'll strip threads. Don't position your boom arm so the microphone is awkwardly far from your mouth; consistency in distance produces consistency in sound.
Setting up a home sound booth properly takes two to three hours your first time. Take that time. Rushing creates problems you'll spend hours troubleshooting later. Once positioned correctly and cabled properly, the booth requires minimal adjustment, and you'll have a genuinely professional recording space without the studio rental costs.
More options
- Portable Vocal Isolation Tents & Pop-Up Recording Booths (Amazon UK)
- Microphone Reflection Filters & Desktop Isolation Shields (Amazon UK)
- Acoustic Foam Panels & Bass Traps for Home Studios (Amazon UK)
- Freestanding Acoustic Office Pods & Soundproof Cabins (Amazon UK)
- Mass Loaded Vinyl & Soundproofing Barriers (Amazon UK)